On this guide you will learn how to create a Web Photo gallery (Flash or pure HTML) in 5 minutes using Adobe Bridge and Adobe Photoshop. No Flash knowledge is needed!
- Create a folder on your computer and name it as you like (here you will store your final files that need to be uploaded to your web site).
- Open Adobe Bridge and navigate to the folder that contains the pics you are going to use. Using control (for PCs) or command (for Macs) select the images you want.
- Click on tools -> Create Metadata Template. Fill in the fields you want and click save.
- After the Metadata info is saved, click on tools -> Photoshop -> Web Photo Gallery.
- When Photoshop loads, an option window opens. Choose in the first field any style you like (in the demo I used Flash-Gallery 2), but there are many. Previews are shown on the right.
- On the “use” field in source images select “Selected Images From Bridge”. Select “include all subfolders” if your photos are placed in many folders.
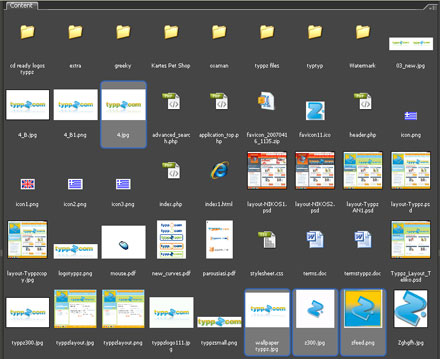
- Fill the”destination” field with the folder you created in step 1.
- In options tab, modify banner, colors and image sizes as you like.
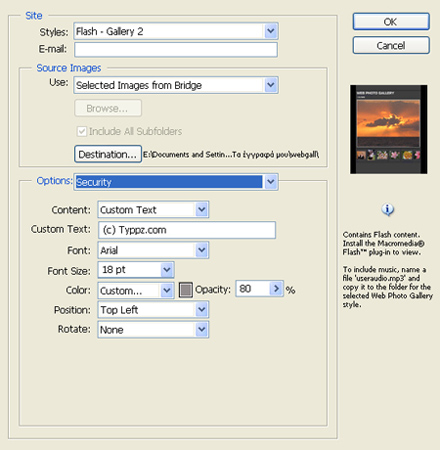
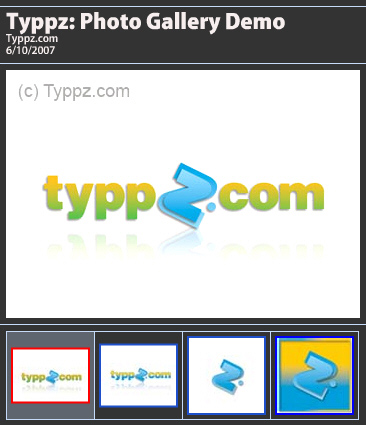
- In the security option tab you can write something that will appear over your pics, to inform visitors that they are copyrighted and to ensure that they will not be usable in case of copy.
- After filling the option tabs click OK to create your Photo Gallery. If you want a soundtrack to play on the background, choose a .mp3 file, rename it as “useraudio”.mp3 and place it in the folder you created in step 1.
- Upload the folder (yes the one you created in step 1 🙂 ) to your server, navigate there and enjoy!
- If you want to check your gallery locally, open the index.html file.
Note that if you use audio soundtrack, it is preferable that the audio file will be small to ensure fast loading times. Click here to see the demo galley in action.
Great workflow! This is very cool and easy! Keep on guys!
Hey!…Man i love reading your blog, interesting posts ! it was a great Tuesday .
This is a cool trick and it only takes a minute. Just wondering if you can email it?
Great overview, thanks.
I would like to take the output and incorporate it into a WordPress post. Any tricks on how to take the index.html and put it into a WordPress post? Do you have to manually edit all the file references? Any help appreciated.
@Jim: You can put the output anywhere by just puting the Flash object code (or embed but it does not validate as XHTML). The code is just like the one you use when you embed youtube videos!
VRy interesting to read it 😛 😀
How to: Create a Web Photo gallery in 5 mins great article thank you.